
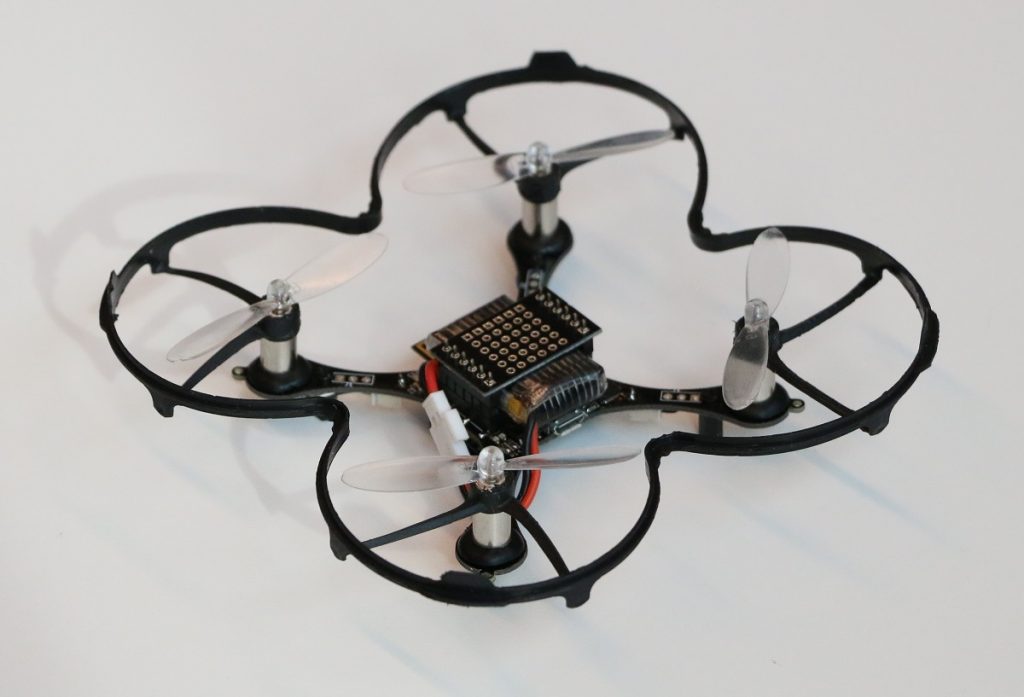
ESPcopter Development Modules
What are Development Modules?
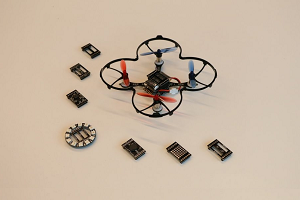
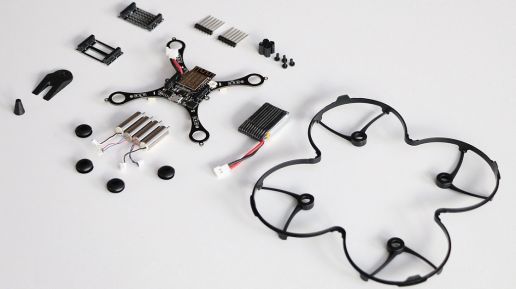
Thanks to its modular structure, you can add new features to ESPcopter By using sensor shields.
ESPcopter Optical Flow Module:
The optical flow module measures the movement of the ESPcopter over the ground, allowing the drone to remain stable in the air and to perform autonomous tasks. You can reach additional information from this site: https://ardupilot.org/copter/docs/common-mouse-based-optical-flow-sensor-adns3080.html

Optical Flow Performance:
Optical Flow Module Connection:

Note: Module direction is important. It should be connected as picture.
ESPcopter Multi-Distance Module:
There are laser sensors on the multi-distance module with 1-meter detection distance facing forward, backward, right and left. With this module, you can do applications such as collision prevention, autonomous flight or hand control according to the distance to the walls.
Other Modules:
Note: Modules direction is important. The arrow direction should be a font of the ESPcopter

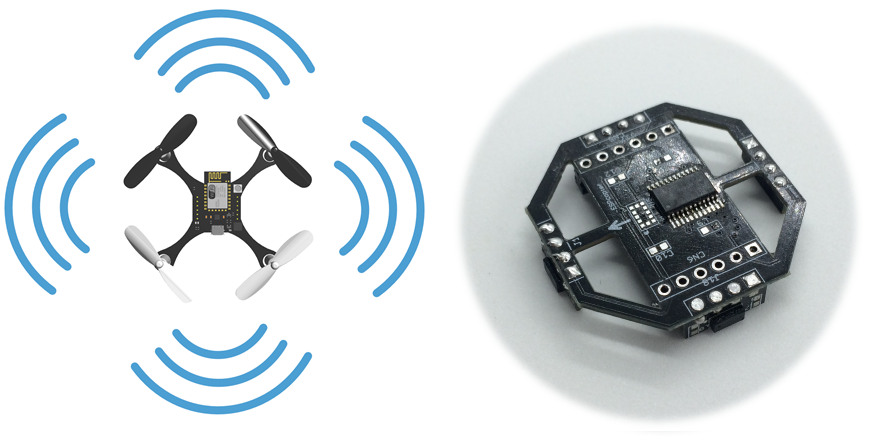
ESPcopter Neopixel Module:
There are 12 NeoPixels in this circular card. It can connect to the ESPcopter's top input pins.
You can use the NeoPixel module to make various light shows while flying with the ESPcopter.
ESPcopter Buzzer Module:
There is one buzzer in the buzzer module. It can connect to the ESPcopter's top input pins.
You can play music through the Buzzer module when you are not flying, and you can hear the warning sounds when you fly.
ESPcopter Temperature Pressure and Humidity module
This module has one BEM280 sensor. It can connect to the ESPcopter's top input pins.
You can use this module to record weather data while flying or you can send these data to your phone or computer over the internet in your IoT project.
ESPcopter Altitude Hold Module
This module has one VL53L0x sensor module. It can connect to the bottom input pins of the ESPcopter.
Using this module, you can measure the height of the ESPcopter up to 1.2 meters and automatically fix the height of the drone.


2-) Uploading Code
https://youtu.be/QAJTIhmGzuU?list=PLN1j_JuvrwOJYA5TVu8JF2AL8OXq1tAB_
Installing Arduino IDE
This tutorial will walk you through downloading, installing, and testing the Arduino software (also known as the Arduino IDE - short for Integrated Development Environment). Before you jump to the page for your operating system, make sure you’ve got all the right equipment.
What you will need:
- A computer (Windows, Mac, or Linux)
- An ESPcopter
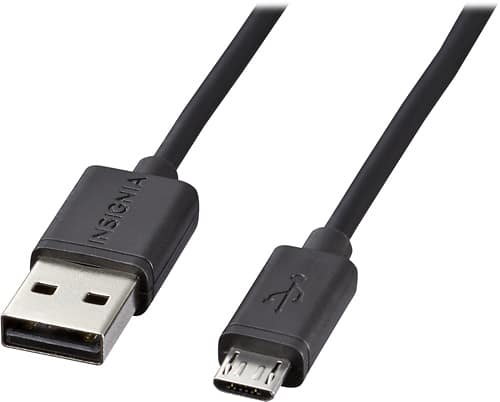
- A USB - micro USB
1-) Arduino Installation:
Download and install the latest version from the Arduino web site: https://www.arduino.cc/en/Main/Software
2-) Driver Installation:
The following driver is required for the ESPcopter to be recognized by the computer. Download and install the appropriate driver version for your OS.
https://www.silabs.com/products/development-tools/software/usb-to-uart-bridge-vcp-drivers
3-) ESP8266 Library
To begin, we’ll need to update the board manager with a custom URL. Open up Arduino, then go to the Preferences (File> Preferences). Then, towards the bottom of the window, copy this
URL into the “Additional Board Manager URLs” text box:
http://arduino.esp8266.com/stable/package_esp8266com_index.json

Hit OK. Then navigate to the Board Manager by going to Tools > Boards > Boards Manager. There should be a couple new entries in addition to the standard Arduino boards. Look for esp8266. Click on that entry, then select Install. You need to install 2.6.3 version of esp8266 library.
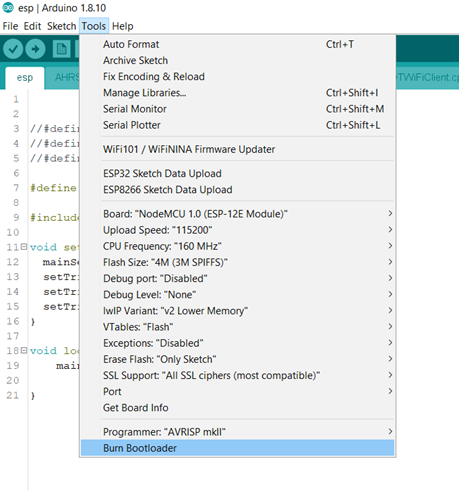
The download process can take up to 10 minutes depending on your internet speed. After the download is done, select NodeMCU 1.0 from the Tools tab and follow the other settings.
4-)Downloading the ESPcopter library:
Before downloading the code from the website, you must use the contacts page to request the source code. See the following site: https://espcopter.com/code-release/
After downloading, remove the zip file twice and put the file (ESPcopter ”(Files> Arduino> Library) into the file. In the Examples section, you will see the sample codes of the ESPcopter.
Open the following example program:

5-) Spiffs Memory Updater Installation:
- What is Spiffs Memory?
Flash File System (SPIFFS) is a SPI Flash (64kBytes to 3Mbyte) In this flash memory ESP stores the program. This filing system can be used to store infrequently changing data such as; web pages, configurations, sensor calibration data etc.
Install Spiffs Memory Uploader?
- Download the tool: https://github.com/esp8266/arduino-esp8266fs-plugin/releases/download/0.5.0/ESP8266FS-0.5.0.zip
- In your Arduino sketchbook directory, create toolsdirectory if it doesn’t exist yet.
- Unpack the tool into toolsdirectory (the path will look like <home_dir>/Arduino/tools/ESP8266FS/tool/esp8266fs.jar) If upgrading, overwrite the existing JAR file with the newer version.
- Restart Arduino IDE.
Update Software:
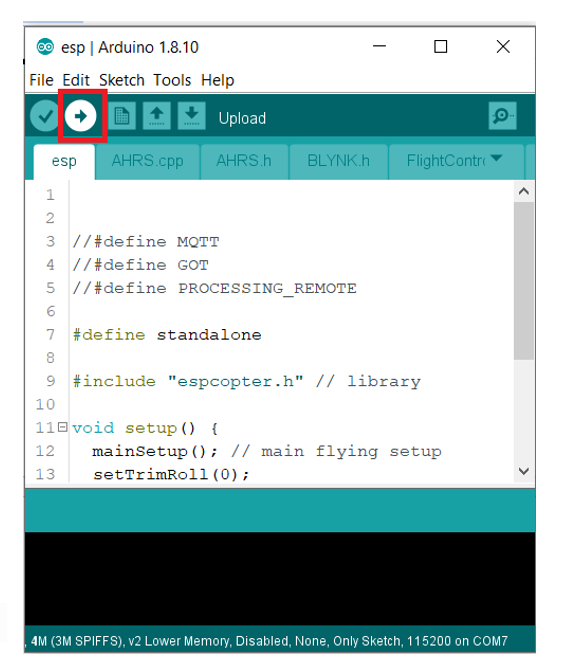
6-) Update Main Software:
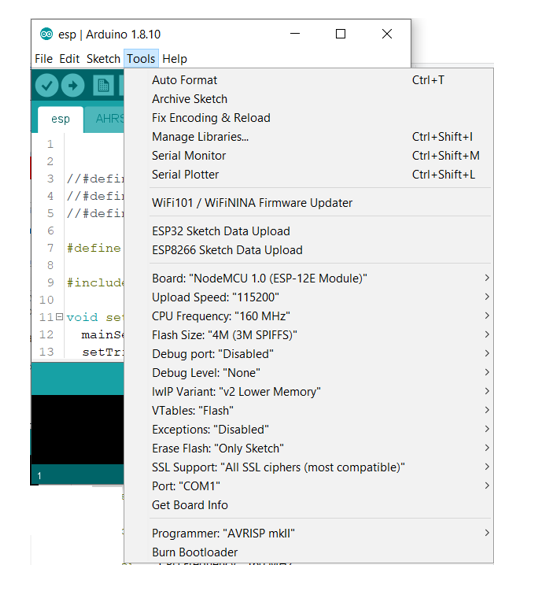
- To update the code, the drone must be turned on and connected to the computer via USB cable. Open the ESPcopter code from the ESPcopter Library in the Examples section. Do not forget to select Com port from the tools section of Arduino.
- Make the necessary settings from the Tools section.
- Upload the code by clicking the Upload button.
7-) Update Spiffs Memory:
- Make sure you have selected a board, port, and closed Serial Monitor.
- If your board requires you to press a button (or other action) to enter bootload mode for flashing a sketch, do that now.
- Select Tools > ESP8266 Sketch Data Upload. This should start uploading the files into ESP8266 flash file system. When done, IDE status bar will display SPIFFSImage Uploaded.

After updating the main software and spiffs memory, updating software is completed.